How-to: Create a Velosio Support Request
Before a support case can be created the user must meet the prerequisites described here.
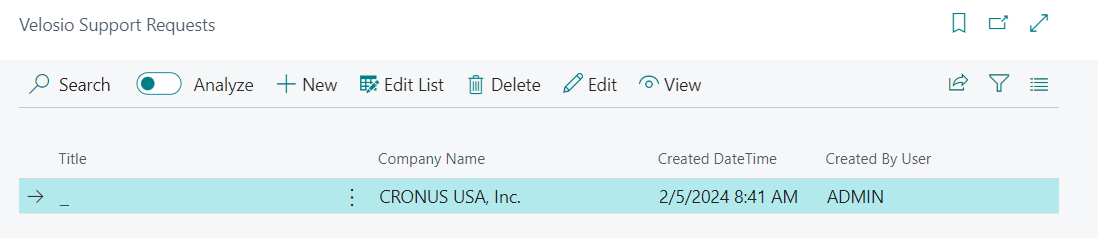
Search for Velosio Support Requests and select the related link:

The Velosio Support Requests page will open. This page displays requests that have not yet been submitted.
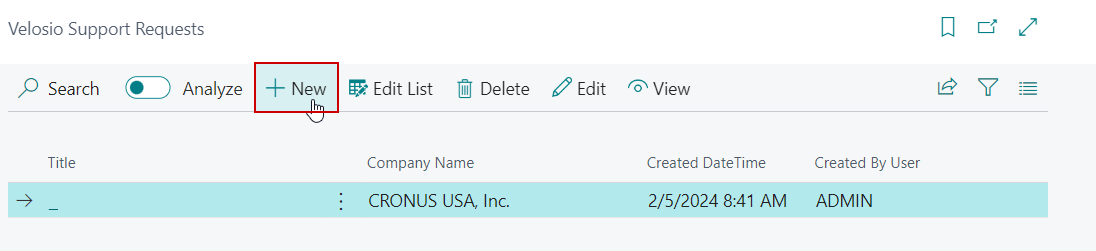
On the menu, click New:
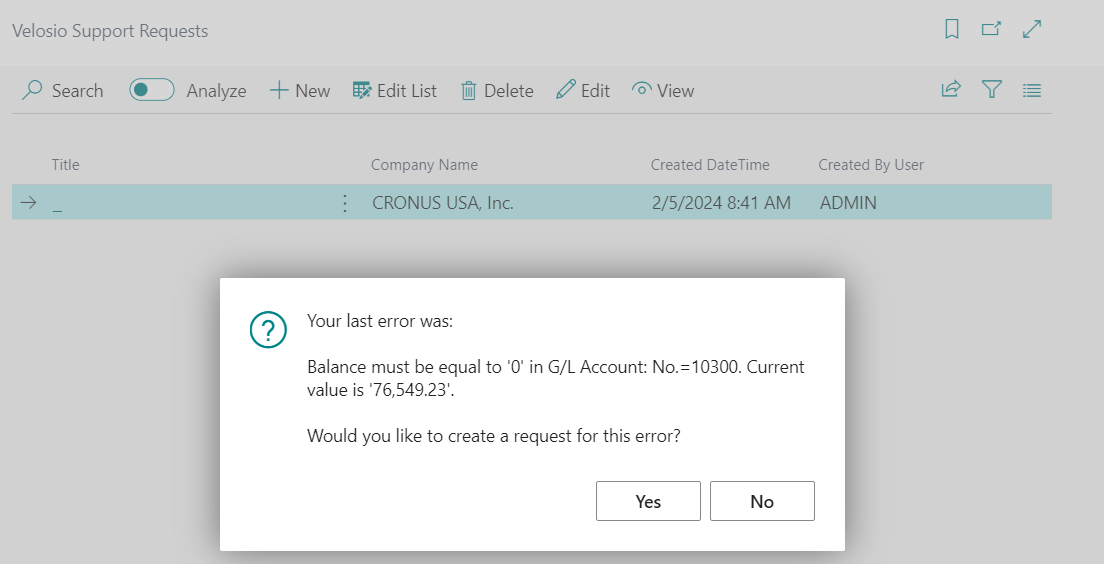
If you recently encountered an error, it will display and ask if the request is regarding this error. Select Yes if so and No if not:
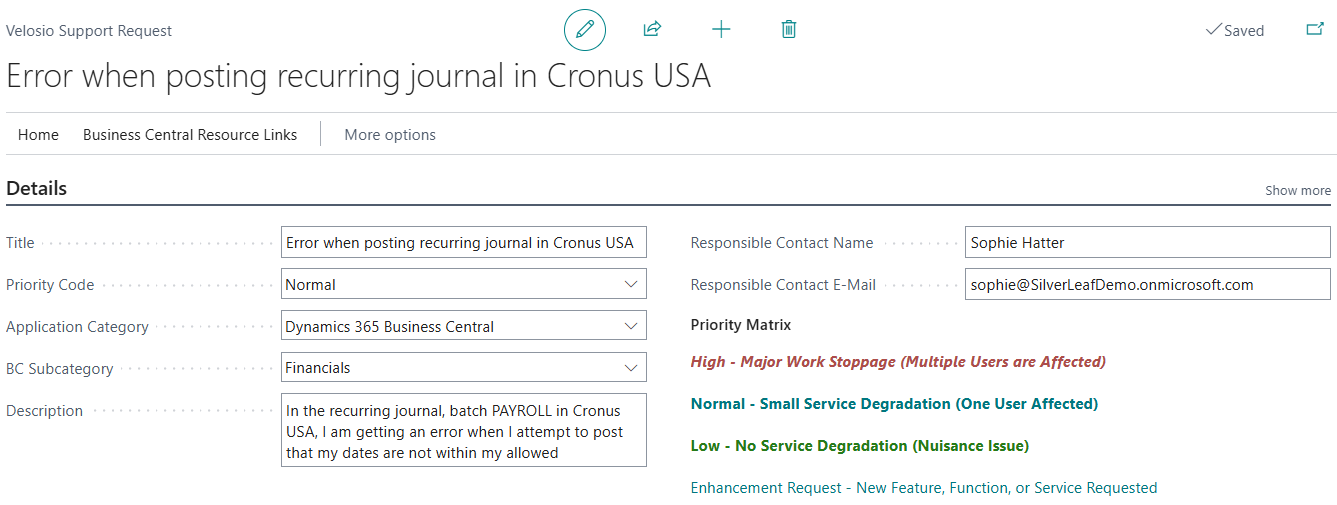
The Velosio Support Request page will open. Enter the following:
a. Title - good titles are specific and should state the feature, action, and company where there is an issue. E.g. "Error when posting recurring journal in Cronus USA"
b. Priority Code - the Priority Code should be selected based on the Priority Matrix:
- High - Major Work Stoppage (Multiple Users are Affected)
- Normal - Small Service Degradation (One User Affected)
- Low - No Service Degradation (Nuisance Issue)
- Enhancement Request - New Feature, Function, or Service Requested
c. Application Categoryd. BC Subcategory
e. Description -
- Describe the issue in detail: Explain the steps leading to the problem, including specific actions taken and error messages encountered.
- Highlight relevant context: Mention specific records such as what document number or batch number is having the issue. If some users are not having issues but others are examples of both should be provided.
f. Contact Name - the contact name and email will be included in the information in the created support case.g. Contact E-Mail
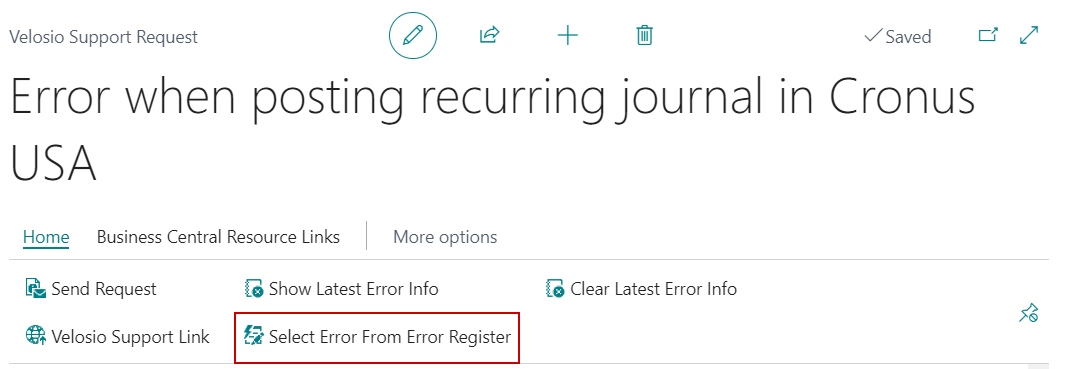
If an error message that isn't the latest error needs to be selected, the Select from Error Register action can be used to select a different error:
Attachments can be added to by going to the Attachments FastTab and choosing the Add Files action:

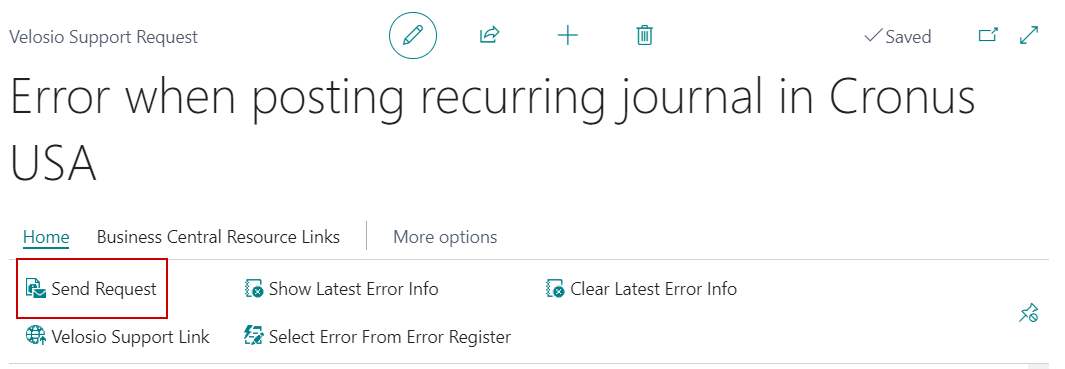
Once all the information has been filled out, the Send Request button to submit the support request:
Note
If the Velosio Support Request Approval Workflow is enabled, users will need to use the Send Approval Request button to start the approval process before the case will be created.
A confirmation will appear with the created case number. The status of the case can be monitored in the Velosio Support Portal.